
Setting Up a Basic Hydroponic System
Last updated: July 11, 2026
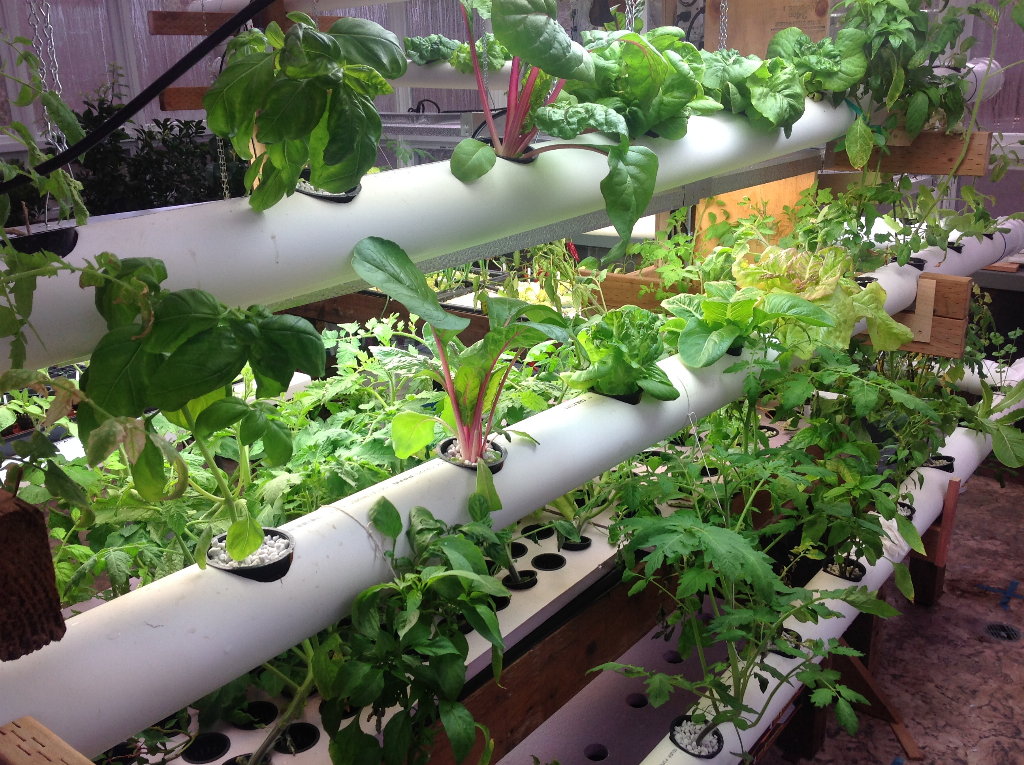
Photo by Oregon State University, licensed under CC BY-SA 2.0
Hydroponics sounds more complicated than it is. At its core, you're growing a plant's roots directly in a nutrient solution instead of soil, which — once it's dialed in — tends to produce faster growth and fewer soil-related pests. The easiest entry point for a beginner is a deep water culture (DWC) system, which is exactly what it sounds like: a plant suspended with its roots hanging into a reservoir of oxygenated, nutrient-rich water.
What You Actually Need
A basic single-bucket DWC setup requires surprisingly little equipment:
- A light-proof bucket or reservoir (5-gallon buckets are the classic starting point)
- A net pot that sits in a lid cut to fit, holding your plant and growing medium
- A growing medium that isn't soil — expanded clay pellets or General Hydroponics CocoTek coco coir are both common, inexpensive choices; CocoTek's compressed brick expands to a few gallons once rehydrated, which is enough medium for several net pots from one brick
- An air pump and air stone to oxygenate the water
- Hydroponic nutrients formulated for the growth stage you're at
- A pH meter and a PPM/EC meter to check nutrient strength
Many beginners skip building this from scratch and instead start with a pre-assembled General Hydroponics WaterFarm complete system, which bundles the reservoir, growing chamber, drip ring, and air pump together. It's been around for decades with only minor changes, which in this case is a point in its favor — the design is simple enough that there's not much to go wrong, and it's a reasonable way to skip the trial-and-error of sourcing every part yourself.
Step 1: Set Up the Reservoir
Fill your bucket with water and let it sit uncovered for a few hours if it's chlorinated tap water — this gives chlorine a chance to off-gas, which is gentler on root health than adding nutrients to fresh-from-the-tap water. Cut or drill a hole in the lid sized to snugly hold your net pot, with the bottom of the pot sitting a couple of inches above the current water line so the roots have room to grow down into the reservoir over time.
Step 2: Get the Air Pump Running
Drop the air stone to the bottom of the bucket and connect it to a General Hydroponics dual diaphragm air pump through airline tubing — the dual-outlet design is worth the small price bump over a single-outlet aquarium pump since it lets you run two buckets, or a bucket plus a backup air stone, off one pump. This step is not optional — without constant oxygenation, roots sitting in standing water will suffocate and rot within a day or two. Run the pump continuously, 24/7, for the entire life of the system.
Step 3: Mix Your Nutrients
Hydroponic nutrients usually come as a two- or three-part liquid system (often labeled "grow," "bloom," and sometimes a micronutrient supplement). Follow the mixing ratios on the bottle for your plant's current growth stage — these ratios are concentration-specific, and eyeballing them is one of the fastest ways to stunt or burn a plant. Mix nutrients into the reservoir water gradually, stirring as you go.
Step 4: Check pH and Nutrient Strength
This is the step beginners skip most often, and it's the one that causes the most mystery problems later. Use an Apera Instruments PH20 pH meter to check your reservoir — most common vegetables and herbs want a pH in roughly the 5.5 to 6.5 range in hydroponic setups. It's a hobbyist-grade meter rather than a lab instrument, but it holds calibration for weeks at a time, which is the main thing you need from a meter you'll be using every couple of days. If pH is outside that range, small amounts of pH-up or pH-down solution will correct it. Use an Apera Instruments EC20 meter to confirm your nutrient concentration matches what the label recommends for your plant's growth stage — too weak and growth stalls, too strong and you risk nutrient burn. It reads raw EC rather than a converted PPM number, which takes a few uses to get comfortable with but avoids the inconsistency of different brands using different PPM conversion factors.
Why pH matters so much in hydroponics: in soil, the soil itself buffers pH swings somewhat. In a hydroponic reservoir, there's no buffer — pH drifts on its own as plants take up nutrients, so it needs to be checked every couple of days, not just once at setup.
Step 5: Plant and Monitor
Place your seedling (started in a plug or small cube of growing medium) into the net pot, surrounded by your clay pellets or coco coir for support. For the first several days, keep the water level high enough that the medium stays moist, then gradually lower it as roots grow down toward the reservoir — this "dry period" encourages roots to chase the water down rather than staying shallow.
Ongoing Maintenance
- Top off water level as it evaporates and gets taken up by the plant.
- Check and adjust pH every 2-3 days.
- Fully drain, clean, and remix a fresh nutrient reservoir every 1-2 weeks, since nutrient ratios in the water shift unevenly as the plant selectively absorbs different elements.
- Watch roots through the net pot or a clear section of reservoir — healthy roots are white or cream-colored; brown, slimy roots are a sign of a rot problem, usually from insufficient oxygen or water that's too warm.
Why Start With DWC Specifically
Other hydroponic methods — ebb and flow, nutrient film technique, aeroponics — offer advantages at larger scale, but they add moving parts: pumps on timers, more plumbing, more points of failure. A single-bucket DWC system has exactly one moving part (the air pump) and is forgiving enough to learn the fundamentals of pH, nutrient strength, and root health before scaling up to anything more complex.
Frequently Asked Questions
What's the easiest hydroponic system for a first-time grower?
Deep water culture (DWC) is the simplest starting point — one bucket, one air pump, roots suspended directly in nutrient solution. It has the fewest moving parts of any hydroponic method.
How often should I check pH in a hydroponic reservoir?
Every 2-3 days. Unlike soil, a hydroponic reservoir has no natural pH buffer, so pH drifts steadily as plants take up nutrients.
What pH range should I target for hydroponics?
Most common vegetables and herbs want a reservoir pH in roughly the 5.5 to 6.5 range in hydroponic setups.
How do I know if my hydroponic roots are healthy?
Healthy roots are white or cream-colored. Brown, slimy roots signal a rot problem, almost always caused by insufficient oxygen or water that's running too warm.
How often should I fully change the nutrient reservoir?
Drain, clean, and remix a fresh reservoir every 1-2 weeks — nutrient ratios in the water shift unevenly over time as the plant selectively absorbs different elements.